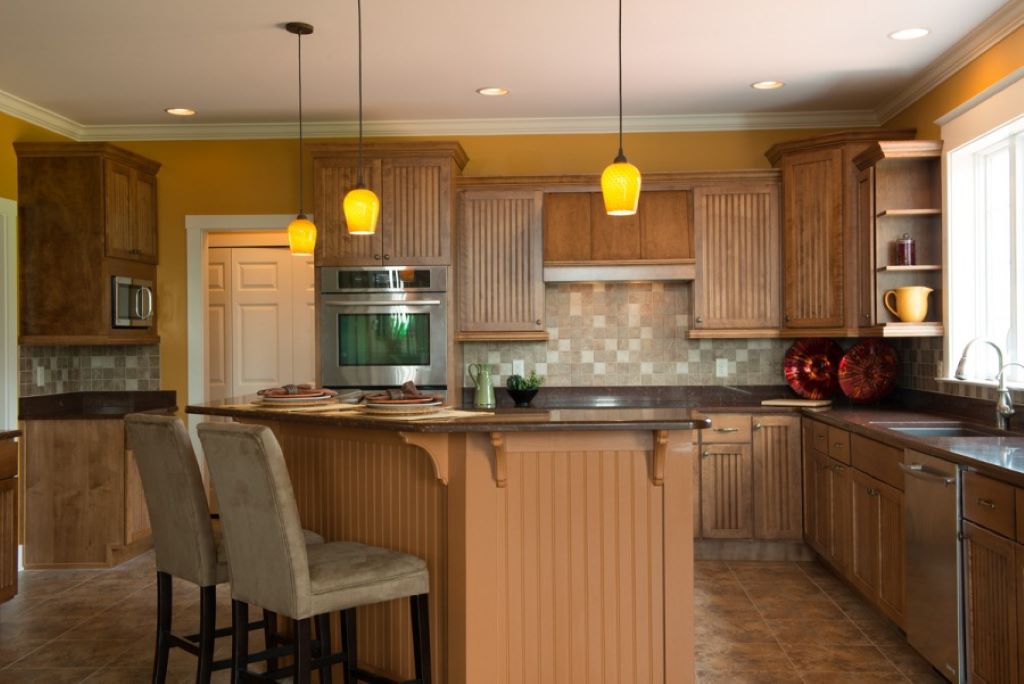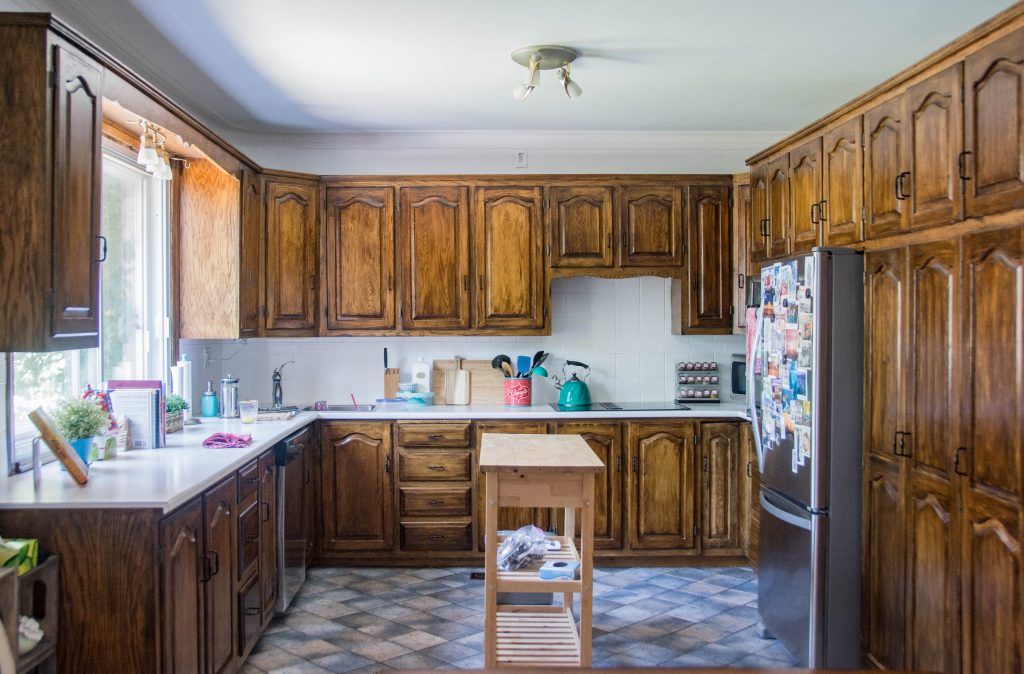
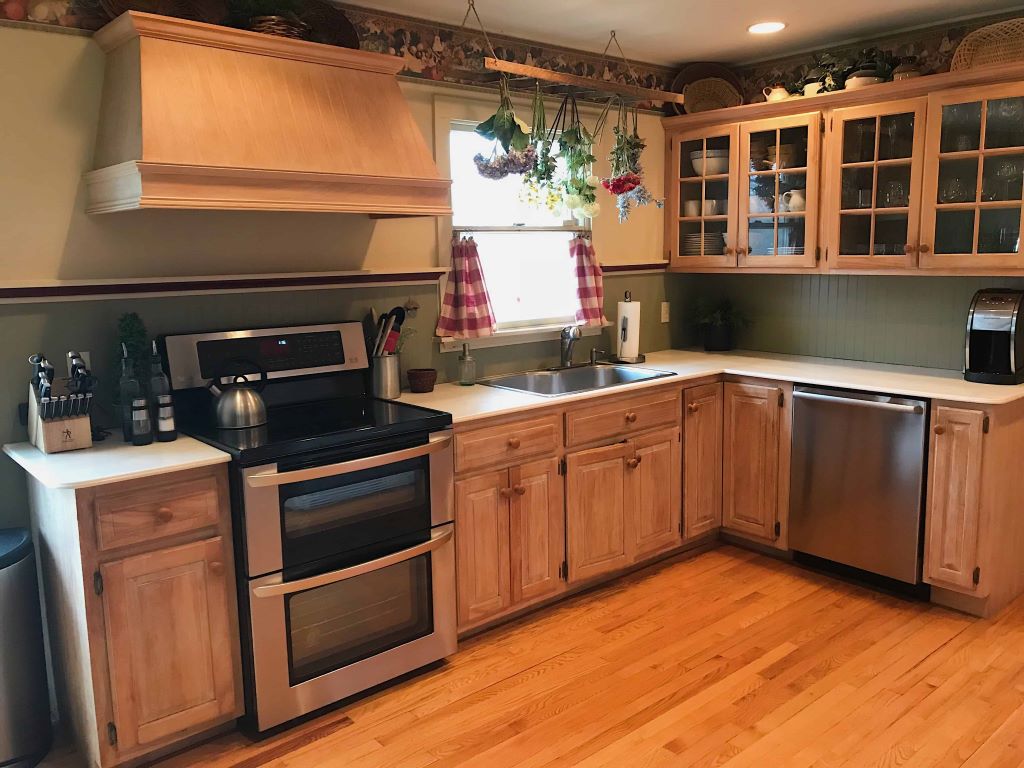
Oak cabinets have graced kitchens and homes for decades, loved for their durability and distinctive grain patterns. However, the characteristic honey-colored tones can sometimes feel dated. Staining is a fantastic way to rejuvenate oak cabinets, giving them a fresh, modern feel while preserving their natural beauty.
This article explores the process of staining oak cabinets, offering insights into the preparation, staining techniques, and the stunning before-and-after transformations you can achieve.
Is Staining Right For Your Oak Cabinets?
Before embarking on your project, consider a few key factors:
- Condition: Are your cabinets in good shape? Major structural imperfections might hinder the staining process. Minor dents or scratches can usually be addressed during preparation.
- Grain: Oak is known for its visible grain. Staining will enhance this, offering beautiful texture. If you prefer a smoother, painted look, staining oak might not be the best option.
- Desired Outcome: Consider the result you envision. Do you want to darken, change the tone, or refresh existing wood? Be clear about your goal to pick the best stain.
Preparation: The Key to Beautiful Results
A well-stained finish relies heavily on careful preparation:
- Remove Hardware and Doors: Take off hinges, handles, and knobs. Label them clearly to make re-installation easier. Remove doors for more controlled staining.
- Clean Thoroughly: Eliminate grease and grime with a wood-friendly cleaner like trisodium phosphate (TSP). Rinse well and let surfaces dry completely.
- Sanding: Start with medium-grit (120-150) sandpaper to remove old finish and smooth out imperfections. Progress to a fine-grit (220) for a polished surface ready to accept stain.
- Wood Filler (Optional): If you have dents or want to alter the grain pattern for a smoother finish, apply wood filler.
- Clean Again: Remove all dust with a vacuum and tack cloth, ensuring no remnants will interfere with the stain.
Choosing the Right Stain
The vast array of wood stains out there can be overwhelming, so let’s break it down:
- Oil-Based vs. Water-Based: Oil-based stains offer deeper penetration but have longer drying times and stronger fumes. Water-based stains dry quickly, are easier to clean up, and are typically more eco-friendly.
- Color: Consider the overall aesthetics you’re after. A rich, dark stain can add dramatic flair, whereas lighter tones or stains with gray undertones create a more modern feel. Test samples on inconspicuous areas for perfect color matching.
- Gel Stain: An excellent option for oak. Gel stains sit on the surface rather than soaking deeply, minimizing blotchiness on porous woods.
Staining Oak Cabinets: Step by Step
- Protect Your Workspace: Lay down drop cloths and ensure good ventilation. Wear gloves and a mask.
- Pre-Stain Conditioner: Using this on oak helps create a more even finish by limiting how much stain some parts of the grain absorb.
- Stir the Stain: Ensure pigments are evenly distributed.
- Applying the Stain: Apply with a brush or rag in the direction of the grain. Work in small sections to maintain a “wet edge” and avoid overlaps.
- Wiping: After a few minutes (check your stain instructions) wipe excess stain with a clean cloth, again along the grain. This controls the final color depth.
- Drying: Let the stain dry completely according to instructions.
- Additional Coats (Optional): Many achieve their desired depth with one coat, but you can apply more, remembering to wipe off excess, for a richer look.
Sealing the Project – Protective Polyurethane
Once your stain is fully dry, a clear polyurethane topcoat is essential to protect your work. Choose a finish (matte, satin, gloss) matching your preferences. Apply several thin coats, lightly sanding between each.
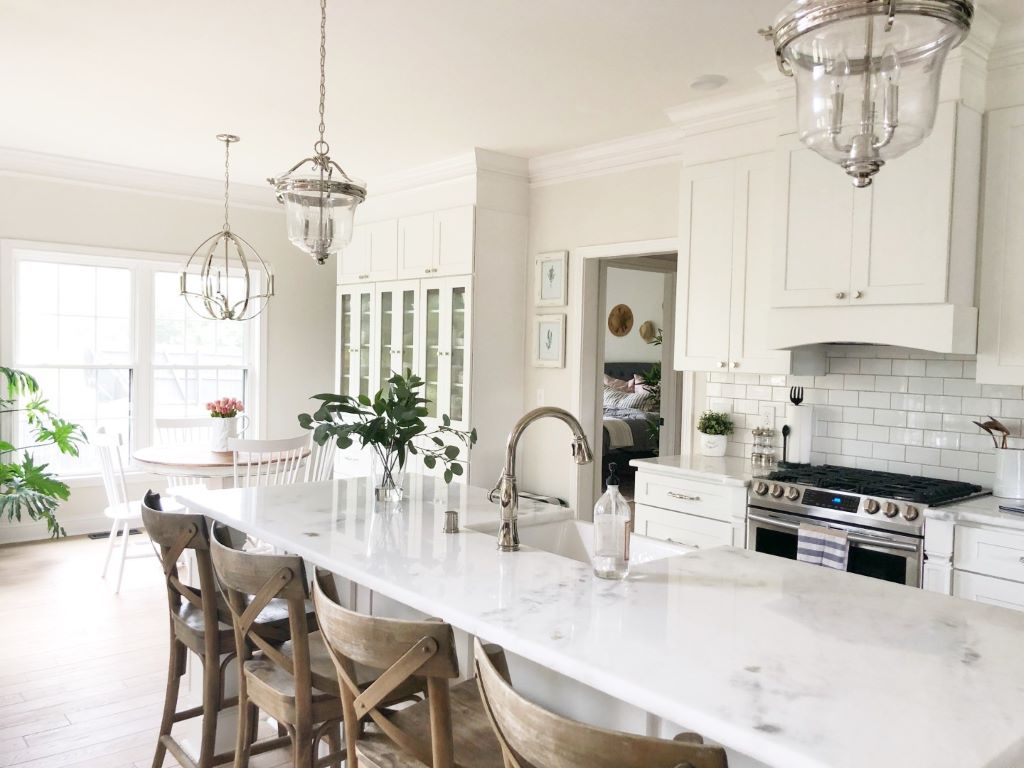
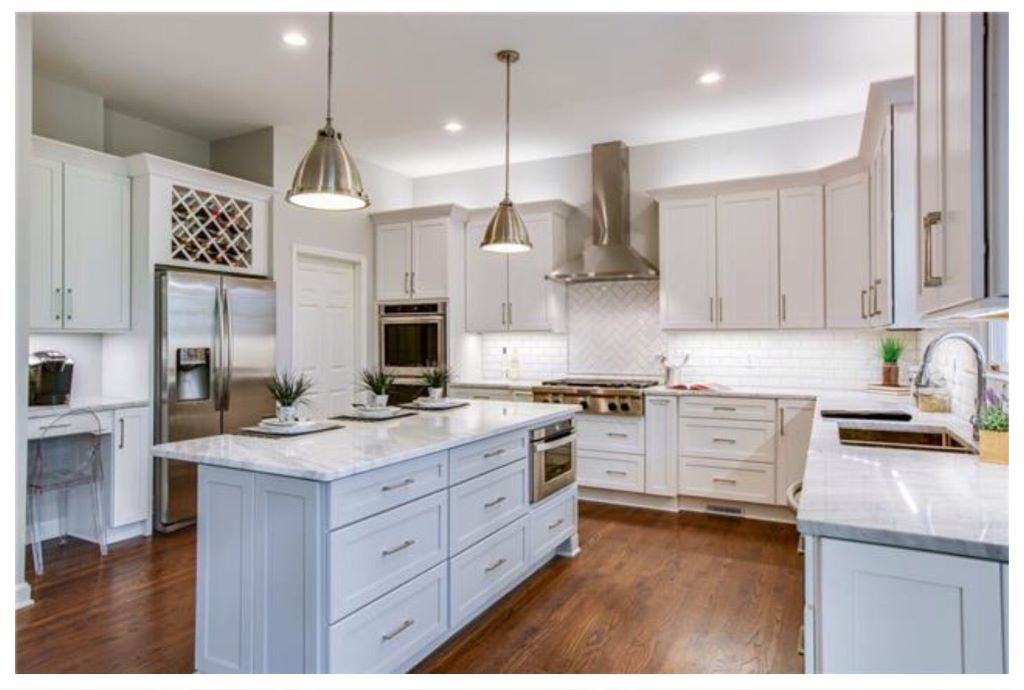
Before and After: The Wow Factor Staining oak cabinets often leads to a jaw-dropping transformation. Here are common changes you might love:
Absolutely, let’s explore the potential results of your staining project:
- Modernizing Dated Tones: Many love the durability of oak but want to neutralize its orange or yellow undertones. Staining can give you beautiful browns, grays, or even a contemporary ebony finish for a fresh take.
- Creating a Focal Point: If your overall kitchen is light, a rich, dramatic stain on your cabinets can introduce gorgeous contrast and warmth.
- Matching Other Elements: If you’ve changed your flooring or countertops, you may want the cabinets to follow suit. Stain lets you perfectly match your oak to other wood elements in the room, creating a cohesive design.
- Going Two-Tone: An exciting trend is staining lower cabinets a darker color and upper cabinets a lighter shade – consider this if you don’t want to completely commit to one tone.
Important Considerations and Tips
- Professional Help: While staining is a DIY project for many, it requires care. If you’re unsure or your cabinets are very intricate, a professional can ensure flawless results.
- Practice Makes Perfect: Always test your stain and process on a scrap piece of oak or an unseen area of your cabinets.
- Patience Pays Off: Don’t rush the project. Allocating time for proper drying between steps is crucial for long-lasting beauty.
- Embrace Grain Variations: Oak’s grain will create subtle variations in stain absorption – this is part of its charm!
Is Staining Your Oak Cabinets Worth It?
Let’s consider the pros and cons to help you decide:
- Pros:
- Budget-friendly update: Compared to completely replacing cabinets, staining offers a significant cost saving for a major kitchen transformation.
- Customizable: Achieve the exact color and look you desire.
- DIY Satisfaction: Staining is a rewarding project for those who enjoy hands-on work.
- Cons:
- Effort Involved: It is a multi-step process requiring time and attention to detail.
- Mess potential: Staining can be messy, especially in an occupied home.
- Not Masking Major Damage: Staining won’t rectify significant damage or hide wood quality issues.
Final Thoughts
Staining oak cabinets opens up a world of possibilities to revitalize your kitchen. By thoughtfully considering the condition of your existing cabinets, your desired outcome, and the care needed for a stunning finish, you can decide if this project is right for you.
With the right preparation and approach, you can achieve a beautiful transformation that will be a source of pride for years to come.