Are you tired of paying high electricity bills every month just to light up your home? If so, you may want to consider converting your home lighting system to solar power. Not only is it a more cost-effective solution in the long run, but it’s also better for the environment. In this article, we’ll show you how to convert your home lighting system to solar power. The article is presented by CreativeHomeDesignIdeas
What You’ll Need
Before we get started, let’s go over what you’ll need to convert your home lighting system to solar power. Here’s a list of the essential components:
- Solar panels
- Charge controller
- Battery bank
- Inverter
- Wiring
- Light fixtures
Step 1: Determine Your Energy Needs
The first step in converting your home lighting system to solar power is to determine your energy needs. This will help you determine how many solar panels you’ll need and how big your battery bank should be. To do this, you’ll need to calculate the total wattage of all the light fixtures you want to power. See also: Revolutionizing Home Lighting with Smart House Lighting Control
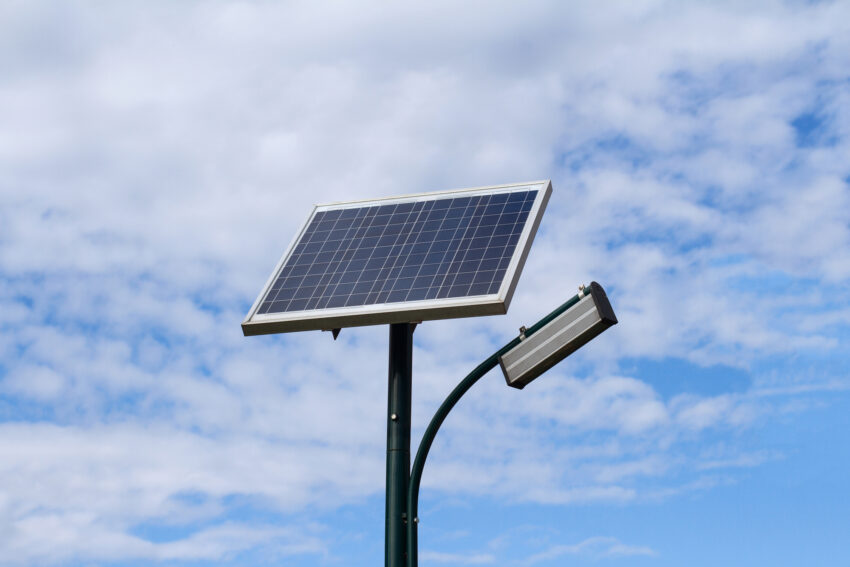
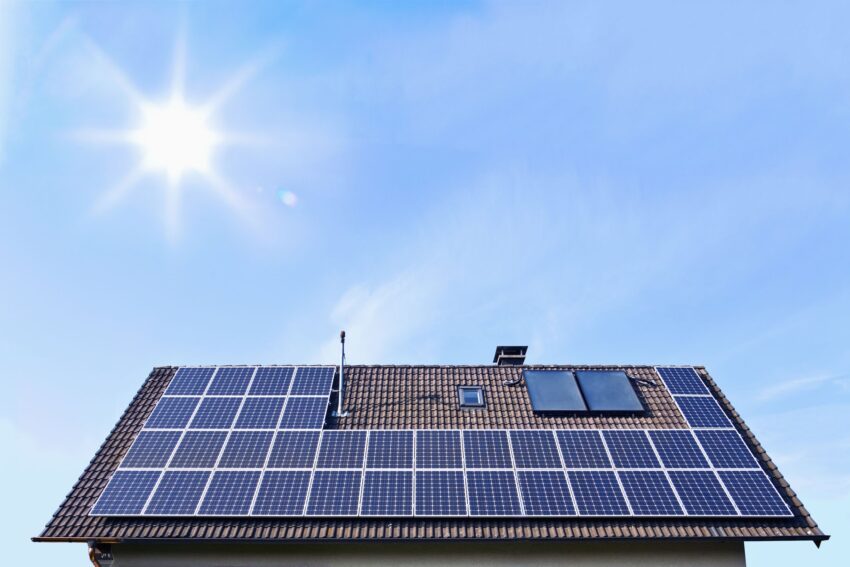
Step 2: Install Solar Panels
Once you’ve determined your energy needs, it’s time to install the solar panels. The solar panels should be installed on the roof of your home or on a nearby structure that receives plenty of sunlight throughout the day. The panels should be installed at an angle that maximizes their exposure to sunlight.
Step 3: Install Charge Controller and Battery Bank
The next step is to install the charge controller and battery bank. The charge controller regulates the amount of charge that goes into the battery bank to prevent overcharging. The battery bank stores the energy generated by the solar panels for later use.
Step 4: Install Inverter
After installing the battery bank, you’ll need to install an inverter. The inverter converts the DC power generated by the solar panels and stored in the battery bank into AC power that can be used to power your light fixtures.
Step 5: Connect Wiring
Next, you’ll need to connect the wiring. This involves connecting the solar panels, charge controller, battery bank, inverter, and light fixtures together using the appropriate wires.
Step 6: Install Light Fixtures
The final step is to install the light fixtures. You can use either DC or AC light fixtures, depending on your preference. DC light fixtures are more efficient and require less wiring, but they can be more expensive than AC light fixtures.
Conclusion
Converting your home lighting system to solar power is a great way to save money on your electricity bills and reduce your carbon footprint. By following these steps, you can install a solar-powered lighting system in your home and enjoy the benefits of clean, renewable energy.