To replace a sump pump, disconnect the old pump, remove it from the pit, and install the new pump, ensuring proper alignment and connection of the pipes and cords. A sump pump is a crucial component in preventing basement flooding, as it helps remove excess water from the pit in your basement or crawl space.
Over time, sump pumps can wear out or become inefficient, requiring replacement. If you notice any signs of a failing sump pump, such as excessive noise, frequent cycling, or malfunctioning, it’s essential to replace it promptly. With a few basic tools and some DIY skills, you can easily replace a sump pump and ensure your basement remains dry and protected.
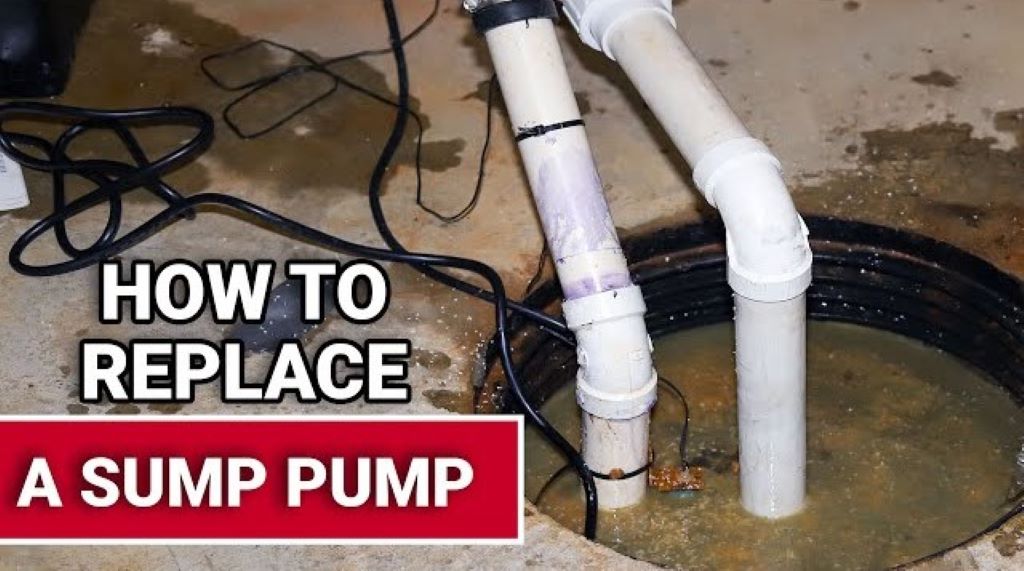
This guide will walk you through the steps involved in replacing a sump pump correctly.
Choosing The Right Replacement Sump Pump
When it comes to replacing a sump pump, it’s crucial to choose the right one to ensure the optimal functioning of your basement drainage system. Assessing your needs and understanding different types of sump pumps will help you make an informed decision. Let’s dive in!
Assessing Your Needs
Before selecting a replacement sump pump, it’s essential to assess your specific needs, including any issues like the sump pump tripping breaker that could indicate underlying electrical problems. Consider factors such as the size of your basement, as a larger space may require a pump with higher capacity. The frequency of water accumulation is another crucial aspect; frequent water issues demand a more robust and reliable pump. Additionally, consider the pump’s intended purpose – whether it’s for regular water management or more intensive flood prevention. This evaluation will help you determine the power and capacity requirements of the new sump pump, ensuring it meets the demands of your basement while avoiding electrical overloads that can cause breakers to trip.
Assessing your needs for a basement drainage system involves a thorough examination of your existing sump pump system, a process that can be informed by resources like https://snapbuzzz.com/. Look for signs of wear and tear, such as corrosion or damage to the pump itself. Pay attention to the noise levels during operation, as excessive noise can indicate a malfunctioning or inefficient pump. Additionally, evaluate the energy consumption of the current system, as an older or poorly functioning pump can consume more energy than necessary. These observations are crucial in enabling you to choose a replacement that not only addresses these shortcomings but also improves the overall efficiency and effectiveness of your basement drainage system.
Understanding Different Types
There are several types of sump pumps available, each suited for different applications. Understanding the differences between these types will help you select the most suitable replacement:
- Submersible Sump Pumps: These pumps are designed to be fully submerged in water and are best suited for basements with a high water table. They operate quietly and are less prone to clogging.
- Pedestal Sump Pumps: Unlike submersible pumps, these sit above the water level and are ideal for basements with a limited sump pit space. They are easily accessible for maintenance and tend to have a longer lifespan.
- Battery Backup Sump Pumps: These pumps are a valuable addition to any basement drainage system, protecting during power outages. They rely on a battery for operation and ensure the pump continues functioning even when the main power source fails.
- Combination Sump Pumps: This type of sump pump combines features of submersible and pedestal pumps, providing the advantages of both. They are versatile and can adapt to different basement conditions.
Understanding the different types of sump pumps and their unique features will help you narrow down your options and choose the most appropriate replacement for your specific needs.
Replacing a sump pump may seem like a daunting task, but with the right information at hand, you can make a confident decision. Assess your needs and consider the different types available to find the perfect replacement that will keep your basement dry and protected.
Gathering The Necessary Tools And Materials
Before you can begin replacing your sump pump, you’ll need to gather the necessary tools and materials. Having everything ready and within reach will make the process much smoother and more efficient. In this section, we’ll cover the basic tools you’ll require as well as the materials you need to have on hand.
Basic Tools
| Tools | Description |
| 1. Adjustable wrench | Allows you to tighten or loosen nuts or bolts of different sizes. |
| 2. Screwdriver set | Includes various sizes and types of screwdrivers for different screw heads. |
| 3. Pliers | Helps you grip and manipulate objects with their teeth-like edges. |
| 4. Utility knife | Perfect for cutting through materials such as plastic or rubber. |
| 5. Tape measure | Allows you to accurately measure distances or lengths. |
Required Materials
- Sump pump: Purchase a new sump pump that matches the specifications of your old one. Ensure it has the necessary horsepower and capacity.
- PVC pipe and fittings: Depending on your sump pump setup, you may need to replace or modify sections of the PVC pipe. Make sure you have the appropriate sizes and fittings.
- Check valve: This valve prevents water from flowing back into the sump pit after the pump shuts off. Choose a check valve compatible with your sump pump and pipe diameter.
- Screws and fasteners: These are needed to secure the sump pump and any other components in place. Make sure you have the correct type and size for your installation.
- Pipe cement and primer: If you’re working with PVC pipe, you’ll need cement and primer to create strong and leak-free connections.
- Waterproof sealant: Use this to seal any gaps or joints to prevent water leakage.
- Electrical tape: Provides insulation for electrical connections, ensuring safety.
- Silicone grease: Lubricating O-rings and gaskets with silicone grease helps maintain their effectiveness.
Preparing For Replacement
When preparing to replace a sump pump, it’s crucial to follow specific steps to ensure a safe and effective replacement process. Before initiating the replacement, shutting off power and draining the sump pit are necessary steps that must be carried out methodically. Adhering to these precautions will help avoid electrical hazards and prevent any potential flooding during the replacement process.
Shutting Off Power
Turning off the power supply to the sump pump is essential to prevent any electrical mishaps during the replacement. Locate the circuit breaker that powers the sump pump and switch it to the off position. Additionally, use a voltage tester to confirm that the power has been safely disconnected before proceeding with the replacement.
Draining The Sump Pit
Before replacing the sump pump, it’s crucial to drain the sump pit to ensure a smooth and safe replacement process. Use a bucket or a pump to remove the water from the sump pit. It’s important to ensure that the pit is completely dry before proceeding with the replacement to avoid any potential water damage or hazards during the installation of the new sump pump.
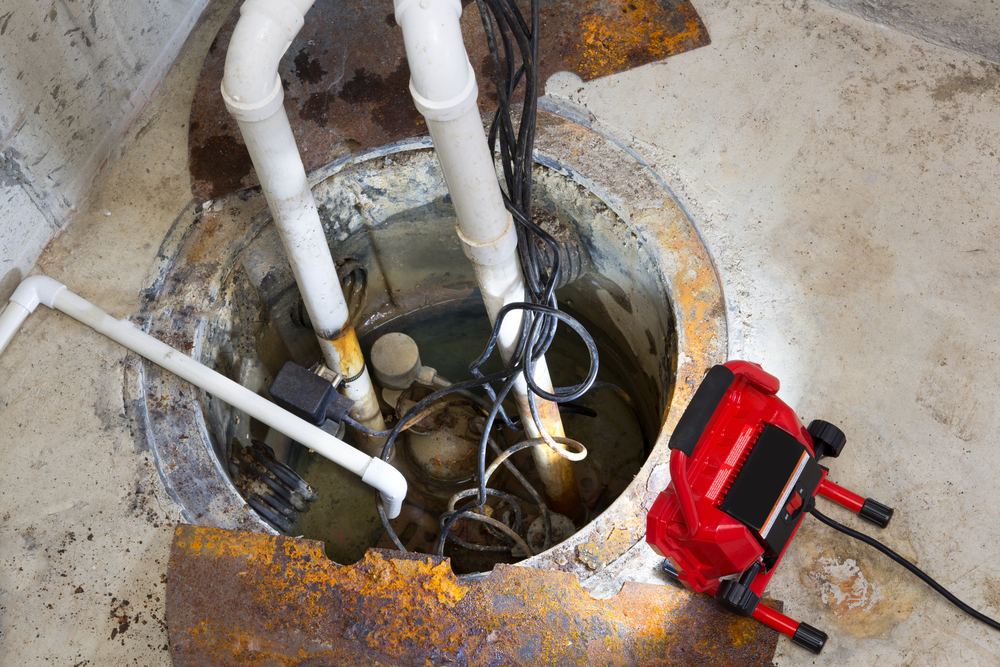
Removing The Old Sump Pump
When it comes to replacing a sump pump, the first step is to remove the old one. This ensures that you start with a clean slate and can install the new pump properly. In this section, we will guide you through the process of removing the old sump pump, including disconnecting power and plumbing and lifting the pump out.
Before you begin, it is important to ensure your safety by disconnecting the power supply. Locate the breaker in your electrical panel that powers the sump pump and turn it off. Additionally, if your sump pump is connected to a plumbing system, you will need to disconnect the plumbing.
- Start by turning off the main water supply to prevent any water from flowing into the sump pit.
- Using a pair of pliers or a pipe wrench, loosen the hose clamps connecting the discharge pipe to the pump.
- Once the clamps are loosened, gently pull the discharge pipe away from the pump.
- If your sump pump is also connected to any drainage pipes, disconnect them using the same method as above.
By disconnecting the power and plumbing, you ensure a safe and hassle-free removal process.
Now that the power and plumbing are disconnected, it is time to lift the old sump pump out of the pit. Follow these steps to accomplish the task:
- Put on a pair of rubber gloves to protect your hands from any dirt or debris.
- Depending on the size and weight of the pump, you may need a helping hand to assist you in lifting it out of the pit.
- Using your hands or a suitable tool, carefully detach the pump from the discharge pipe and any other connecting hardware.
- Lift the pump out of the sump pit and set it aside in a safe location.
Remember to handle the old pump with care, as it may contain residual water or debris that can be messy if spilled. With the old pump successfully removed, you are now ready to move on to the next step of installing your new sump pump.
Installing The New Sump Pump
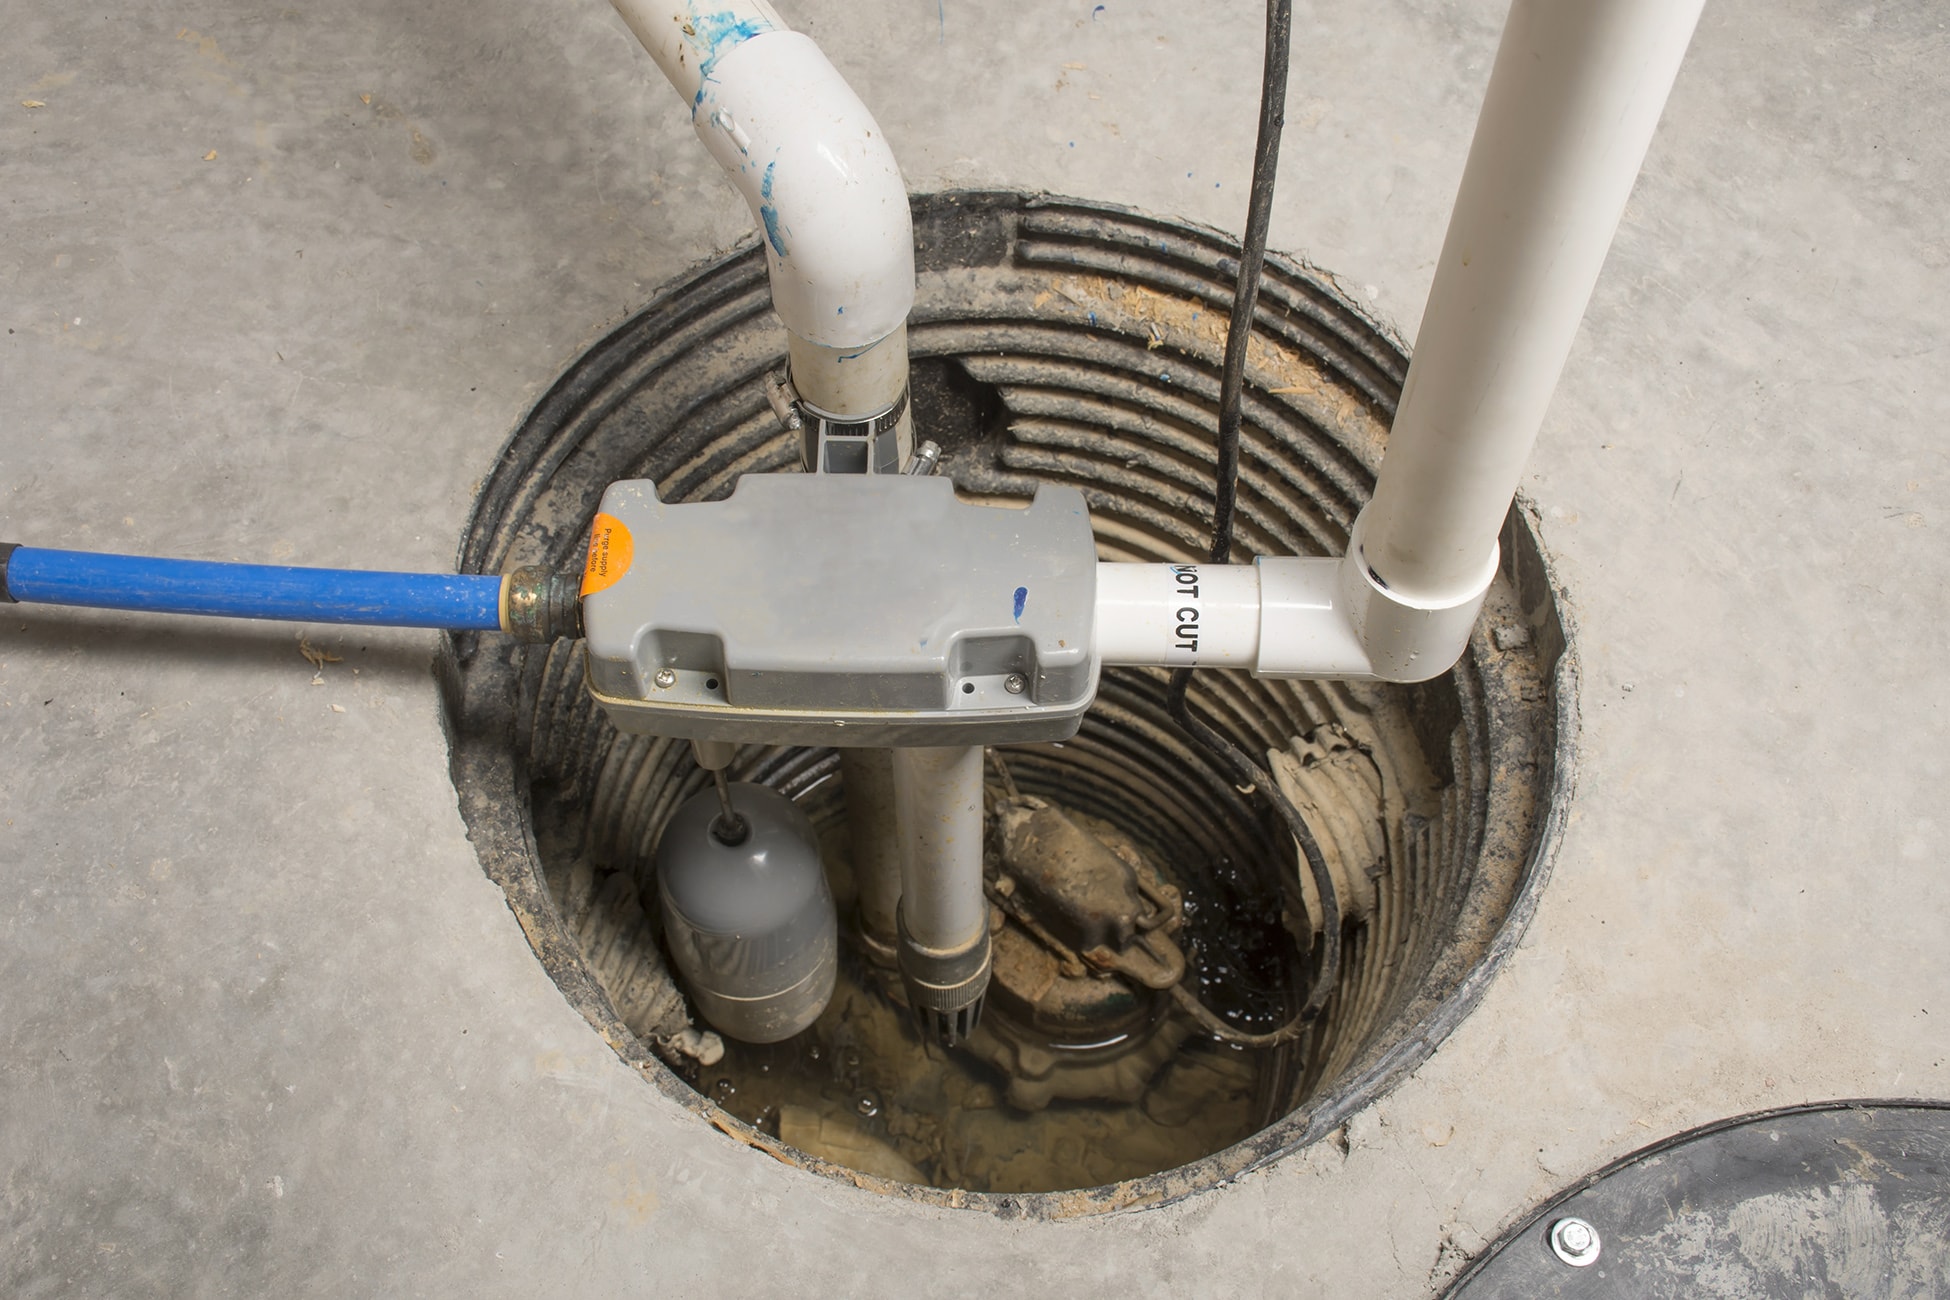
Looking to replace your sump pump? Follow these simple steps to install a new one. Start by disconnecting the old pump, then remove it from the pit. Install the new pump, connect the discharge pipe, and test it for proper functioning.
Installing the new sump pump is a crucial step in replacing a malfunctioning or old sump pump. This process involves connecting power and plumbing to ensure optimal functionality and efficiency. Additionally, securing the pump in place is vital to prevent any potential damage or dislodgment during operation. In this section, we will discuss each of these steps in detail, providing easy-to-follow instructions to successfully install your new sump pump.
Connecting Power And Plumbing
To connect power to your new sump pump, follow these steps:
- Locate the power source: Identify the electrical outlet nearest to the sump pump location. Ensure it is compatible with the voltage requirements of your new sump pump.
- Turn off the power supply: Before making any electrical connections, switch off the power supply to the sump pump circuit from the main electrical panel.
- Prepare the power cord: Strip about one inch of insulation from the power cord wires, both white and black.
- Connect the power cord: Attach the black wire of the power cord to the pump’s black (hot) wire, using wire connectors. Likewise, connect the white wire to the pump’s white (neutral) wire. 5. Secure the connection: Make sure the wire connectors are tightly fastened, preventing any loose connections.
Next, let’s focus on the plumbing connection:
- Select the discharge pipe location: Determine the optimal location to place the discharge pipe, ensuring it is away from the home’s foundation and any other structures.
- Attach the check valve: Connect a check valve to the top end of the discharge pipe. This valve prevents the backflow of water into the sump pump, enhancing its effectiveness.
- Connect the pipe to the pump: Using PVC adhesive and primer, attach the discharge pipe to the pump’s outlet port. Allow sufficient time for the adhesive to dry completely before proceeding.
Securing The Pump In Place
Securing the sump pump in place not only ensures its stability but also minimizes the risk of operational issues.
Follow these steps for a secure installation:
- Position the pump: Set the sump pump inside the sump pit, ensuring it is level and upright. Align the float switch properly to prevent interference during pump operation.
- Connect the discharge pipe: Attach the discharge pipe to the check valve previously installed. Ensure a tight connection to avoid any leaks or dislodgment.
- Anchor the pump: Use concrete blocks or bricks, placing them around the pump to keep it stable. This prevents any movement or vibrations that could impact the overall performance of the pump.
- Test the stability: Gently shake the pump to verify its stability. If it feels loose or shifts, readjust it and secure it further until it remains firmly in place. By following these steps, you can successfully install your new sump pump, connecting the power and plumbing efficiently while securing the pump in place.
Remember to refer to the manufacturer’s instructions for any specific guidelines related to your sump pump model.
Frequently Asked Questions Of How To Replace A Sump Pump
How Often Should A Sump Pump Be Replaced?
Sump pumps generally last for about 10 years, but it’s recommended to replace them every 5 to 7 years to ensure optimal functionality and avoid potential failures during heavy rainfall. Regular inspection is key to identifying signs of wear and tear.
What Are The Signs That Indicate A Sump Pump Needs Replacement?
If you notice excessive noise, frequent on/off cycling, or water leakage, it could be a sign that your sump pump needs replacement. Additionally, a pump that fails to start, has a weakened motor or is unable to effectively remove water should also be replaced to avoid future water damage.
Can I Replace A Sump Pump Myself Or Should I Hire A Professional?
Replacing a sump pump can be done by homeowners with the right tools and knowledge, but it’s recommended to hire a professional for a seamless installation. An expert can ensure proper sizing, positioning, and connection of the new pump, offering peace of mind and preventing potential issues.
Conclusion
Replacing a sump pump is a crucial maintenance task that ensures your basement stays dry. Protecting your outside well pump from freezing is crucial for maintaining a steady water supply and preventing costly damages. By following the steps outlined in this guide, you can save money on professional repairs and keep your basement protected from water damage. Remember to prioritize safety and turn to a licensed plumber if you encounter any difficulties.