Having a garage door opener is super convenient. With the press of a button, you can open and close your garage door without having to get out of your car. But before you can start enjoying this modern marvel, you need to program the garage door opener. Programming your garage door opener allows it to communicate with the sensors on your garage door so it knows when to open, close, stop, or reverse direction. It may sound complicated, but with a little time and patience, you can get your garage door opener programmed and working perfectly. Let’s explore how to program a garage door opener.
Choosing a Garage Door Opener
The first step is choosing the right garage door opener. You have two main options: chain drive or belt drive. Chain drive openers are more affordable but tend to be louder. Belt drive models run more smoothly and quietly but come at a higher price. Make sure the garage door opener you select is compatible with your garage door. The power of the motor should match the size and weight of your door.
Gathering the Needed Materials
Before programming, make sure you have everything you need:
- Garage door opener motor and head unit
- 2 safety sensors
- Wires to connect the motor to the sensors
- Lightbulbs for the safety sensors
- The remote controls you wish to program
- The instruction manual that came with your garage door opener
Reading through the manual thoroughly will make the programming process smoother. Ensure you understand your specific model’s instructions.
Installing the Garage Door Opener

Once you have all the materials, it’s time for installation. This involves:
- Mounting the motor – The opener’s motor unit mounts to the ceiling and connects to the door via a trolley that pulls the door open and closed. Make sure it is securely fastened with the provided hardware.
- Connecting the rail to the motor – The metal rail needs to be fitted together and connected to the motor so it can guide the trolley.
- Affixing the opener to the door – The end of the rail then gets attached to the top of the garage door, allowing the trolley to pull it up and down when activated.
- Installing the sensors – The safety sensors are mounted on either side of the garage door opening. They project infrared light beams to detect objects passing through the doorway, signaling the opener to stop closing if something is in the way.
Carefully following the installation directions specific to your opener model will ensure it gets mounted properly for safe operation.
Programming the Opener
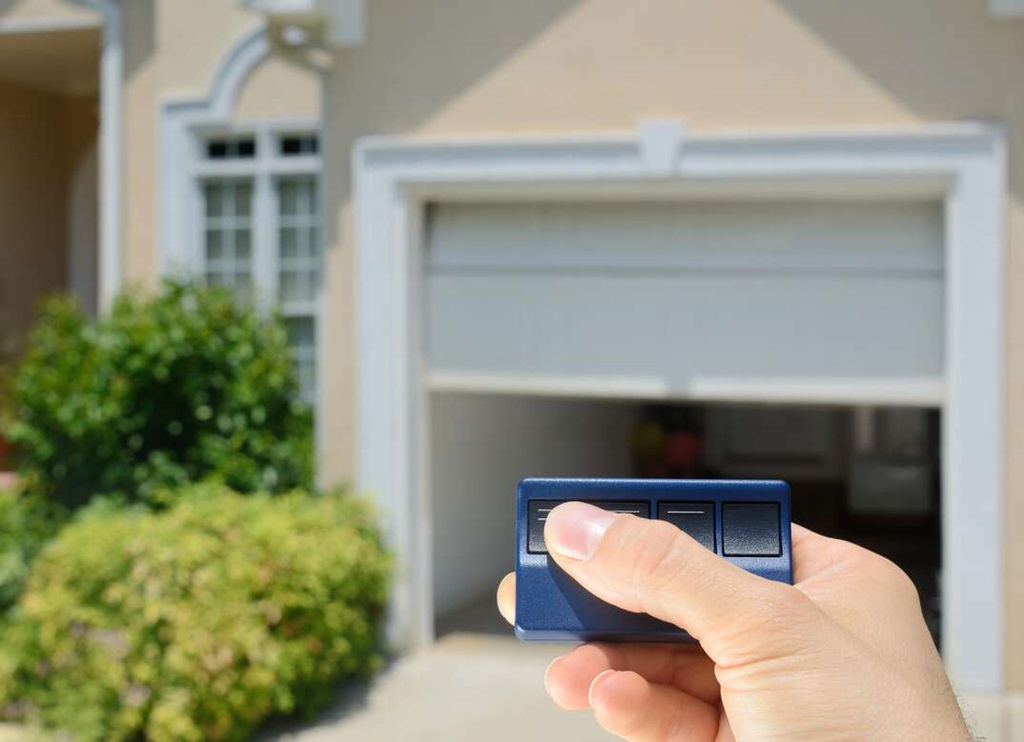
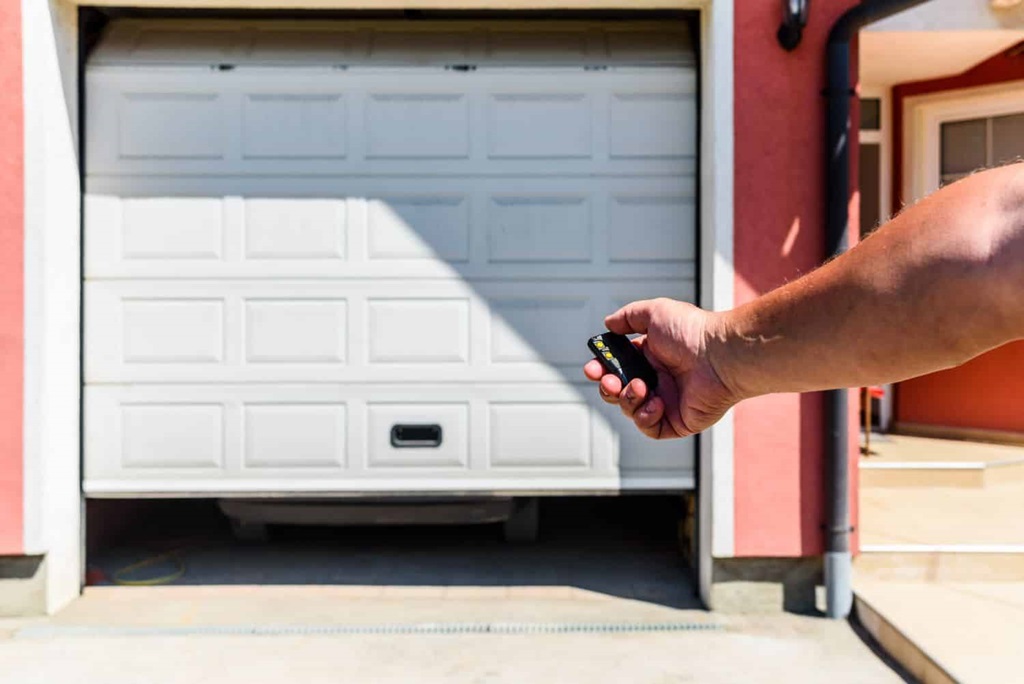
Now for the fun part – programming! To program your garage door opener:
- Locate the “learn” button – There will be a button somewhere on the motor unit labeled “learn” or “program”. This allows you to sync the remote to the opener.
- Press and hold the “learn” button – Hold this button down until the indicator light starts flashing (usually takes about 6 seconds). This puts the motor in programming mode.
- Press your remote’s open/close button – While the motor is in programming mode, press and hold the main open/close button on the remote you want to program (the remote may need to be 1-5 inches away from the motor unit).
- Check if it worked – Release the remote’s button once the motor unit’s light stops flashing and stays on. This usually indicates a successful sync. Test it out by pressing your remote – your garage door should now open!
- Program additional remotes – Repeat the “learn” button process to program additional remotes or wireless keypads.
Following the programming directions precisely will ensure proper communication between your remotes and your new garage door opener system.
Adjusting the Door Limits
Part of programming involves setting the door’s open and close limit positions. This trains the motor to stop at the desired points.
- Open the door manually – First, disconnect your garage door from the opener by pulling the emergency release cord. Lift the door manually until it is fully open.
- Adjust the open limit – Locate the limit adjustment screws on the back or side of the motor unit. Adjust the “open” screw until the indicator light flashes. This sets the fully open position.
- Close it manually – Now close the garage door manually. Lower it all the way down to the ground.
- Adjust the close limit – Use the “close” limit adjustment screw to set the fully closed position the same way, waiting for the light to flash.
- Reconnect the door – Reconnect your door to the motor by pulling the release cord again. The opener will now recognize the positions you set.
Take it slow when first testing the limits to ensure the door opens and closes properly. Adjustments can be made if needed.
Troubleshooting Common Issues
If you follow the instructions specific to your model of garage door opener, programming is usually straightforward. But occasionally issues pop up. Here are some fixes for common problems:
- The remote won’t program – Make sure you are holding the “learn” button down long enough to activate programming mode. The remote must also remain very close to the motor during syncing.
- The door reverses direction for no reason – The safety sensors are likely misaligned or dirty. Verify the sensors are lined up correctly and the lenses are clean and unobstructed.
- The garage door opener light doesn’t work – Check that the lightbulb is not burnt out and is firmly screwed into the socket. Make sure the power to the motor unit is on.
- The motor hums but the door doesn’t move – Lubricate the door’s rollers, bearings and hinges. Check for any obstructions like rocks or sticks under the door.
- The door opens but won’t close – Reprogram the close limit. If needed, increase the closing force adjustment to give it more power to close the door.
With a bit of tinkering and fine-tuning, you can get any issues resolved. Carefully follow the programming instructions for a smooth installation.
Tips for Safe and Proper Use
Once up and running, just a few usage tips will keep your garage door opener performing properly for years:
- Test the auto-reverse function monthly to ensure the door stops and reverses upon meeting resistance.
- Remember to disengage the opener before performing any maintenance or repairs.
- Frequently lubricate all moving parts – rollers, hinges, bearings. This prevents excessive strain on the motor.
- Make sure remotes and keypads are kept out of reach of children. Do not let kids play with or near the door.
- Ensure the door is fully open before driving in or out of the garage, and keep people and objects away until it is closed.
Following basic safety measures goes a long way toward smooth operation and prevention of injuries or accidents.
Programming a garage door opener yourself may seem intimidating, but taking it step-by-step makes it very manageable. Before you know it, you’ll be opening and closing your garage door at the push of a button! So don’t be afraid to grab those tools and wires and program your new opener.
In Summary

Programming a garage door opener is usually a straightforward process by following the manufacturer’s instructions for your specific model. Pay close attention when mounting the motor, connecting and affixing the rail, installing the safety sensors, programming the remotes, and adjusting the door limits. Take care when testing the new opener and remember basic usage and safety tips, like monthly reversing system checks and lubricating moving parts. With minimal effort, you can get your garage door opener programmed properly and working flawlessly.
Frequently Asked Questions
What do I do if the opener light flashes but the motor won’t run?
This usually indicates the motor is overheated and has temporarily shut down. Let it rest for 15-20 minutes to cool down. Make sure nothing is obstructing the door. Check for any other flashing light error codes.
How do I add a new remote or wireless keypad to my existing opener?
Press and hold the “learn” button on your opener until the indicator light flashes. Press the button on the remote/keypad you want to add. The opener light will stop flashing when programming is complete.
Why does my garage door reverse direction when closing?
This safety feature engages when the door senses resistance, in case something is obstructing the door. Check that the safety sensors are aligned correctly and free of dirt/debris. Also, check for any objects like rocks under the door.
What maintenance should be done on the garage door opener?
Occasionally lubricate the metal rail, chain/belt, and moving parts. Check that all nuts/bolts are tight. Test the auto-reverse function monthly. Replace the lightbulb if burnt out.
Why does the garage door open and close slowly?
Add a bit more opening/closing force adjustment. Also lubricate the door hinges, rollers, and bearings so they move smoothly. The temperature can also affect the door motor’s speed.