When taking a shower, there’s nothing more frustrating than realizing the water isn’t draining properly and it’s starting to pool around your feet. The inconvenience of dealing with a clogged shower drain is bad enough, but sometimes it’s necessary to take more drastic measures to resolve the issue, such as fully removing the drain. This will ensure that you can enjoy a relaxing shower without the fear of ending up ankle-deep in water.
I know, I know, the idea of removing a shower drain sounds about as fun as getting dental work done. But I promise it’s easier than wrestling with a stubborn clog for the hundredth time. Removing and fully cleaning out your drain gives you a chance to fix deeper issues and get things flowing freely again. Consider this guide on how to remove shower drain your helpful buddy for smoothly tackling this bathroom project.
When Should I Consider Removing My Shower Drain?
Like an old friend who starts acting grumpy, your shower drain can slowly turn on you over time. Gunk builds up with hair, soap scum, and other grunge that clogs the pipes. And sometimes, no amount of plunging, snaking, or chemical drain cleaners can fix it. That’s when it’s time for a shower drain intervention in the form of complete removal.
You’ll know it’s time to remove your shower drain if you spot these common signs:
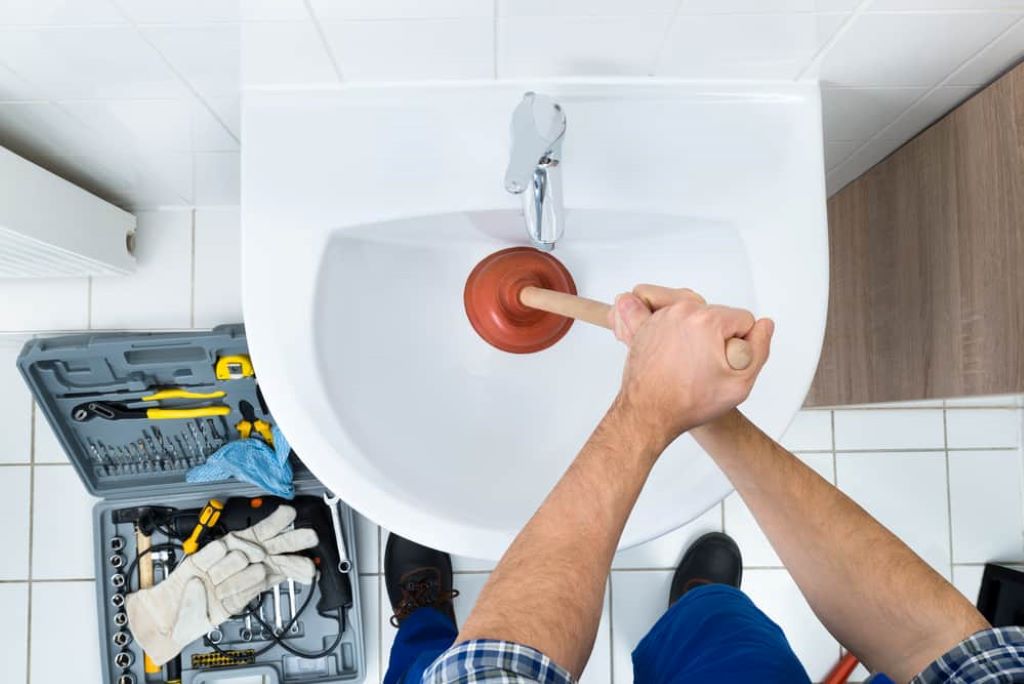
- The water pools around your feet when showering no matter what you try to unclog it.
- You’ve used every drain cleaner product under the sun with zero luck.
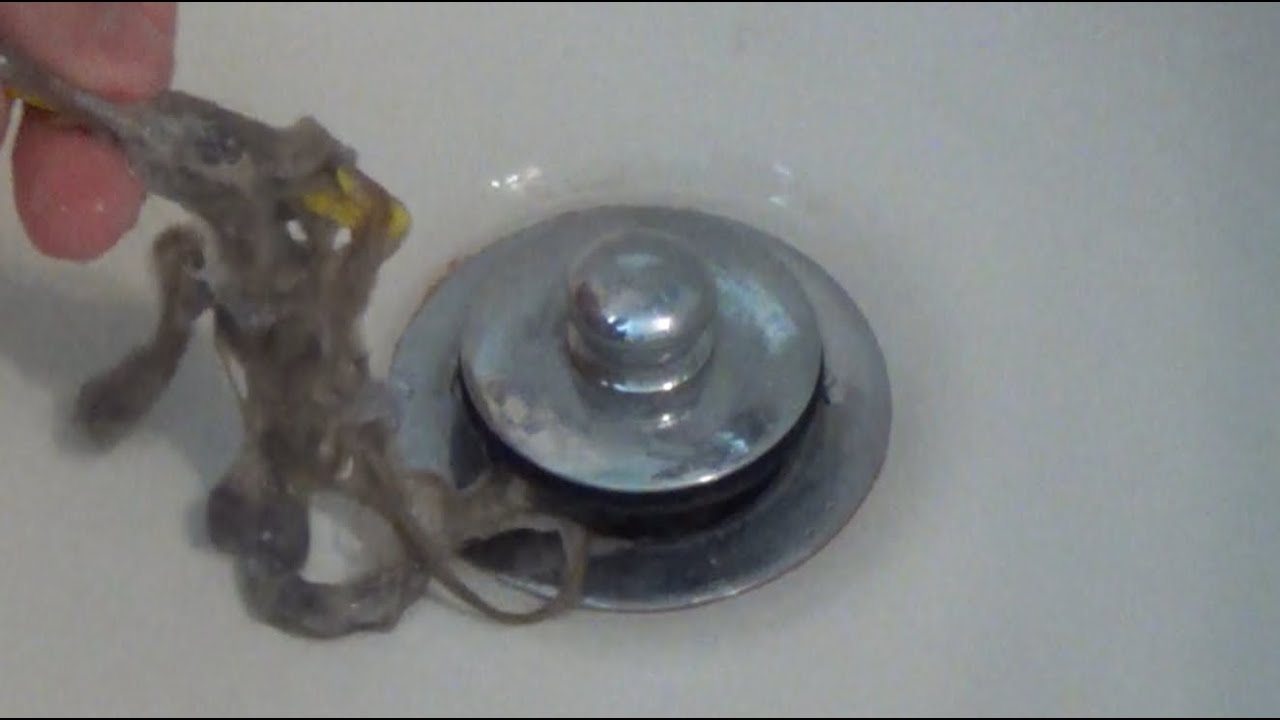
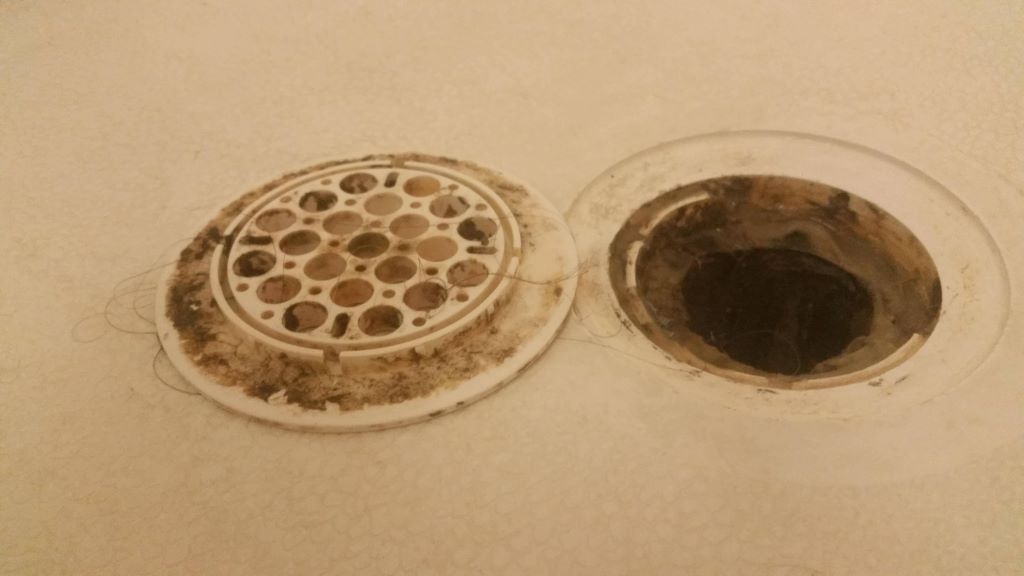
- Taking the drain plate off to clean the drain reveals funky gunk deeper down.
- You see signs of corrosion or cracks around your drain. The water leaking below means it’s definitely damaged.
- Your bathroom renovation plans require replacing the old shower pan and drain.
Equip Yourself: Gather the Right Tools and Materials
Removing a shower drain is dirty work, but having the right gear makes it much less intimidating. Arm yourself with these supplies and tools for smooth sailing:
For Protection:
- Work gloves to keep hands clean and dry
- Safety goggles to prevent eye injuries
- Dust mask to avoid breathing in nasty gunk
For Plumbing:
- Adjustable wrench for loosening drain fittings
- Channel-type pliers for extra gripping power
- Basin wrench to reach tight drain spots
- Cordless drill to remove drain screws
- Flathead and Philips screwdriver for disassembly
For Extracting the Drain:
- Hammer for breaking up old shower pan around drain
- Chisel to chip away at concrete pan material
- Flat pry bar to further loosen drain from shower base
- Utility knife to cut away old caulk and tile
For the New Drain Parts:
- Teflon plumber’s tape
- Emery cloth to polish contact areas
- Non-oxidizing putty or caulk for watertight seal
Of course, the most important item – the new shower drain itself! More on choosing the right replacement later.
Let’s Get Physical: Removing Different Shower Drain Types
Not all shower drains are created equal. Before you start dismantling things, inspect your drain style to strategize your attack:
Pop-Up Drains
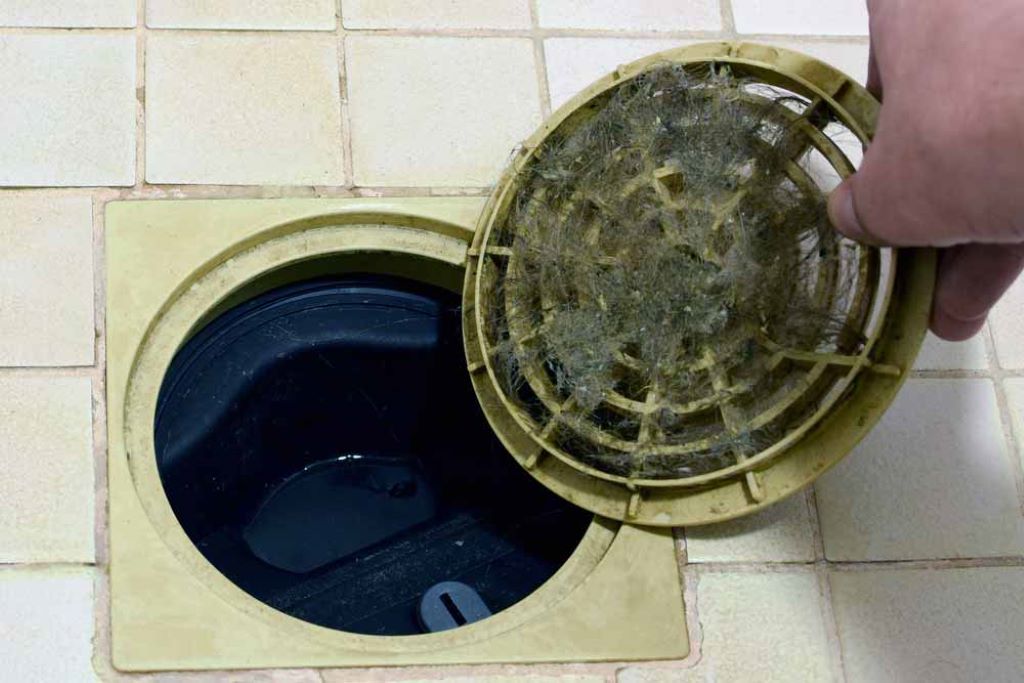
These click-style drains are the easiest to remove. Spot the removable drain cover plate – it pops off for routine cleaning. Underneath, a hair catch filter removes easily too. Check below for a threaded drain body – use your basin wrench to unscrew this from the shower base.
Since pop-ups utilize gaskets and o-rings rather than caulk or putty, they come out cleaner. However, the plastic threads can ultimately wear down and leak over time.
Screw-In Drains
True to their name, these shower drains get secured by screws driving through the drain flange into the shower pan. Use a screwdriver or drill to remove the perimeter screws and detach the drain.
An advantage is how simple screw-in drains come out, but the screws tend to corrode after exposure to wetness which requires total replacement.
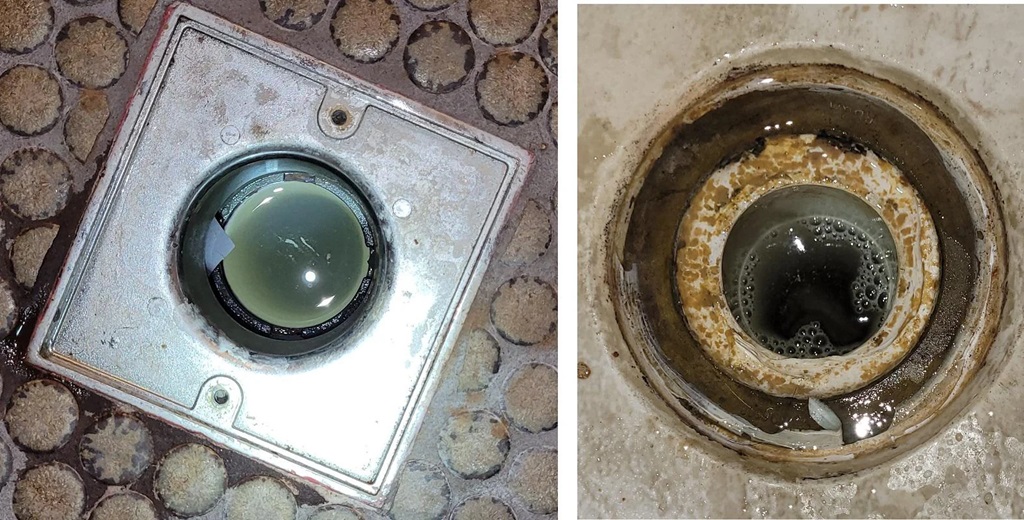
Molded or Bonded Drains
Found in concrete or tile shower pans, these drains have no removable parts. The drain frame and top get fully bonded or molded into the shower base. Removing them takes breaking apart the shower pan with hammer and chisel.
While sturdy, the lack of modularity means replacing this drain type destroys the shower base too. Carefully break up only what’s needed around the drain to leave as much pan intact as possible if not doing a full gut renovation requiring its complete removal.
Start Removing: Take It Slow and Steady
Got your supplies ready? Now comes the nitty gritty dirty work of actually removing your shower drain. Take things slowly and follow these key steps:
- Turn Off the Water Supply
Safety first! Locate the shutoff valves controlling water flow to your shower and turn them off. This prevents messy accidents if any water starts unexpectedly dripping.
- Clear Away Standing Water
Use a small cup or old Tupperware container to bail out standing water pooled around your shower drain. Remove as much liquid as possible before disassembly to keep things safer and cleaner.
Pro Tip: Absorbent towels or a wet/dry shop vacuum also quickly soak up standing water if you want the area totally dry.
- Remove Drain Cover and Filters
Use any necessary tools (likely just your hands) to detach and set aside the drain cover plate, hair catch filter, or other removable top pieces from the drain assembly.
- Loosen Perimeter Sealant
For bonded shower drains, now’s the time to slice through old caulk, mortar, or tile securing the drain flange. A sharp utility knife does the trick. Cut all the way around the drain through sealant materials to get ready for drain removal.
- Unfasten or Unscrew Drain Body
Depending on your shower drain type, work tools like wrenches or screwdrivers to dismantle the lower drain body, pipe sections and connections buried in your shower base. Remove any washers, o-rings or gaskets as well.
- Break Up Bonded Drain (If Necessary)
For bonded drains without removable lower parts, use a demolition hammer, chisel and pry bar to carefully break apart the surrounding shower pan material. Only break up what’s needed to fully extract the drain.
- Remove Drain Remnants and Inspect
With the drain fully detached, remove any remaining ring, flange or drain pieces still stuck in the shower base. Pick out any old caulk, grout or gunk with a utility knife too.
Thoroughly inspect the empty drain cavity and pipes. Damage or leaks indicate replacement needs before installing any new shower drain.
What If I Run Into Problems?
Even for an experienced DIY warrior, things don’t always go smoothly when removing an old fixture like a shower drain. Stay calm and try these troubleshooting tips if you run into any snags:
Drain Parts Won’t Budge?
Penetrating oil or lubricant can help loosen up rusted or stuck threads. If that fails, carefully use a propane torch to heat stuck connections which can help break things free (just don’t melt any plastic parts!). As a last resort, cutting connections with a hacksaw or angle grinder gritty gets the job done too.
Stuck Shower Pan Breaking?
For bonded shower drains, trying to break apart the surrounding base is often the hardest challenge. Take it slowly to minimize damage. Continue working perimeter edges with a chisel and hammer. Or use a rotary hammer on low setting with a wide flat bit to transmit less concussive force over more pan surface area when chipping away material.
Unexpected Leaks or Other Damage?
If pipes come loose or cracks form causing leaks (or any other problems pop up) when removing your shower drain, stop work. Turn off the main home water supply immediately. Then inspect where issues originated to determine if professional help is needed before attempting to install any new drain parts.
Key Questions People Ask
Where do I dispose of my old shower drain?
Most shower drain components qualify as general construction debris for household waste pickup or drop-off at a recycling center’s appropriate container. The exception would be any pieces containing concrete, which require disposal at a facility still permitting inert solid wastes.
How difficult is removing a shower drain?
As with any moderate home improvement project, expect a challenging multi-step process requiring proper tools, adequate time, and patience working in awkward tight spaces. But carefully following the fundamentals makes it very doable.
Can I reuse my existing shower drain?
In most cases, replacing the entire drain altogether is best practice. This ensures a smooth install and optimally watertight performance with all new matching parts built to work together. Reusing old pieces risks improper fit or leaks.
What if my shower base gets damaged taking the drain out?
For cosmetic damage around the drain cavity rim, patching cement or epoxy fillers restore the appearance. But cracks or leaks indicate bigger issues needing professional repair or full shower pan replacement.
How do I know it’s time to call in a plumber?
If problems remove the drain seem totally mystifying no matter what you try, it makes sense seeking pro help. Significant flooding, leaks downstairs onto ceilings, or major damage to your home’s plumbing would also indicate getting an expert opinion about next repair steps or costs.
The Final Word
Like overcoming any pesky home repair, removing a misbehaving shower drain brings immense satisfaction. Keeping the big picture in mind while methodically following fundamental steps on how to clean a bathroom sink drain makes the process very doable. And just think – soon you’ll have a smoothly running sink and clear pipes, ensuring water flows freely as you carry on with your daily routine!