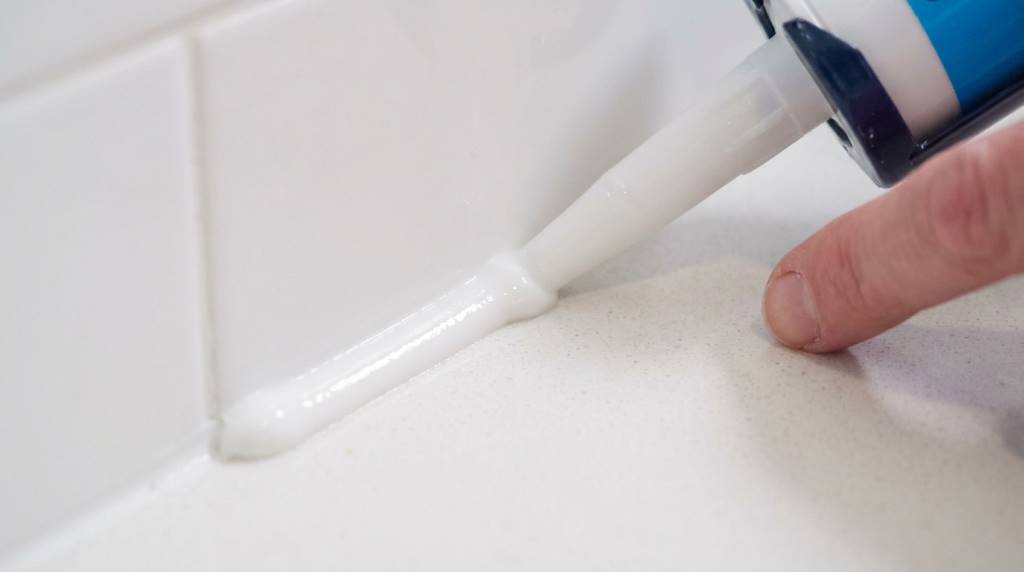








Installing an undermount sink is an excellent choice for those seeking a sleek, modern look for their kitchen or bathroom. But before diving into the installation process, the key to a seamless fit lies in accurate measurements. If you’re thinking of upgrading your kitchen or bathroom with a new undermount sink, this guide will walk you through every essential step of measuring for an undermount sink to ensure a flawless installation. Let’s explore how to measure for undermount sink, avoid costly mistakes, and enjoy the luxury of a perfectly fitted sink.
Why Measuring for an Undermount Sink Is Critical

When it comes to installing an undermount sink, precision is crucial. Unlike top-mount sinks that rest on top of the countertop, undermount sinks attach underneath the counter, requiring exact measurements for both the sink and the surrounding countertop cutout. Incorrect measurements can lead to costly repairs, water damage, or a sink that simply doesn’t fit.
Taking the right measurements from the start ensures your sink not only fits securely but also enhances the aesthetic appeal of your kitchen or bathroom. In this article, we’ll break down the step-by-step process of how to measure for an undermount sink, helping you achieve a professional installation.
Understanding the Basics of an Undermount Sink
Before jumping into measurements, it’s essential to understand what makes undermount sinks different from other types of sinks. Unlike drop-in sinks, which are installed from above the countertop, undermount sinks are mounted from underneath the counter. This creates a smooth and seamless appearance, making cleaning easier and adding a modern touch to your space.
However, the installation of an undermount sink involves precise fitting. Since the countertop edges are exposed, any miscalculation in the size of the cutout can result in an ill-fitted sink or uneven countertop edges.
Tools You’ll Need for Measuring an Undermount Sink
To measure correctly, it’s essential to have the right tools at hand. Here’s a list of the equipment you’ll need:
- Measuring tape
- Straightedge or ruler
- Carpenter’s pencil or marker
- Level
- Template (usually provided with the sink)
- Notepad or smartphone to record measurements
- Framing square (optional but helpful for precision)
Having these tools ready will make the measuring process smoother and more accurate.
Step-by-Step Guide on How to Measure for an Undermount Sink
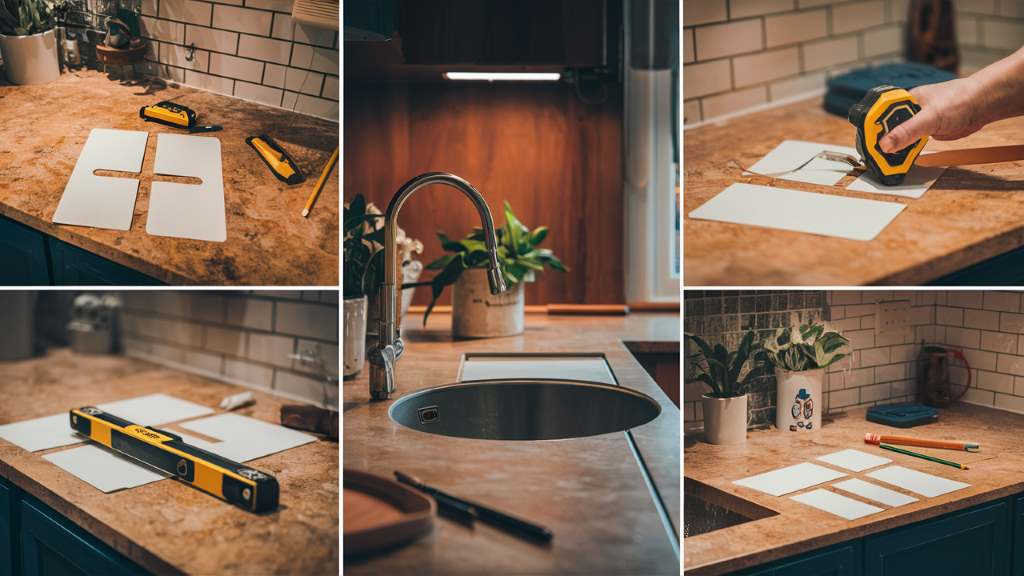
1. Measure the Existing Sink Opening
If you are replacing an existing sink, start by measuring the opening in your countertop. Use a measuring tape to determine the width and length of the cutout from edge to edge. Ensure that you measure in a straight line to avoid inaccuracies caused by any irregular countertop shapes.
Make sure to measure both the top and bottom of the sink opening, as they may not always be perfectly aligned. This step is especially important if you are working with a custom countertop material like granite or quartz.
2. Measure the Width and Length of the Sink
If you are installing a new sink, use the template provided by the manufacturer to determine the sink’s dimensions. Start by measuring the sink’s overall width (from one outer edge to the opposite outer edge) and the overall length. This will give you the outermost dimensions of the sink.
When measuring, note that some undermount sinks are asymmetrical—one side may be longer than the other. Be sure to account for any discrepancies to avoid an awkward fit.
3. Determine the Depth of the Sink
The depth of the sink is equally important. Use a straightedge or ruler to measure from the top edge to the bottom of the basin. Standard sink depths range from 6 inches to 10 inches, but deeper sinks are also available, depending on your needs.
Ensure that the sink depth aligns with your countertop thickness and cabinet height. A deeper sink may require adjustments to plumbing or even the countertop.
4. Take Cabinet Space into Account
When measuring for an undermount sink, don’t forget to measure the inside dimensions of the sink cabinet. The cabinet width, height, and depth must accommodate not only the sink but also the plumbing connections.
Measure the width of the cabinet opening, especially if you’re considering a double basin sink, as this will dictate the maximum width of the sink that can be installed.
Allow for Countertop Overhang and Reveal
When installing an undermount sink, you will need to decide on the amount of countertop overhang. This refers to how much of the countertop will extend beyond the edge of the sink. The overhang can vary depending on personal preference and sink design, typically ranging from a flush reveal, where the sink’s edge is level with the countertop, to an overhang reveal, where the countertop slightly extends beyond the sink’s edge.
Make sure to communicate this to the countertop fabricator, as the measurements will affect the cutout in the stone or material.
Double-Check the Faucet and Accessories Placement
Another critical step in measuring for your undermount sink is ensuring proper placement for the faucet and any additional accessories, such as soap dispensers or filtered water taps. Before finalizing your measurements, check how much space you have between the sink and the backsplash or wall.
Allow adequate room for the faucet installation without overcrowding the sink area. This is particularly important if you plan to install a single-hole or widespread faucet, as each requires different spacing.
Common Mistakes to Avoid When Measuring for an Undermount Sink

While measuring for an undermount sink is relatively straightforward, several common mistakes can lead to incorrect sizing:
- Relying on the old sink’s measurements: Don’t assume your new sink will fit perfectly into the existing cutout. Always measure your new sink independently.
- Overlooking cabinet clearance: Be sure to account for the space needed for plumbing and other under-sink installations.
- Ignoring the countertop material: Different countertop materials (granite, marble, laminate) require different types of support and edge treatments for undermount sinks.
- Not verifying with a template: Always use the manufacturer’s template to ensure accurate measurements for the cutout.
Conclusion
Proper measurement is the foundation of a successful undermount sink installation. By following the guidelines outlined in this article, you’ll ensure that your sink not only fits perfectly but also enhances the functionality and beauty of your kitchen or bathroom. Take your time to measure accurately, consider the space for plumbing and faucets, and consult with a professional if you’re unsure. A little extra effort upfront can save you from costly mistakes and ensure a perfect fit for your new undermount sink.