







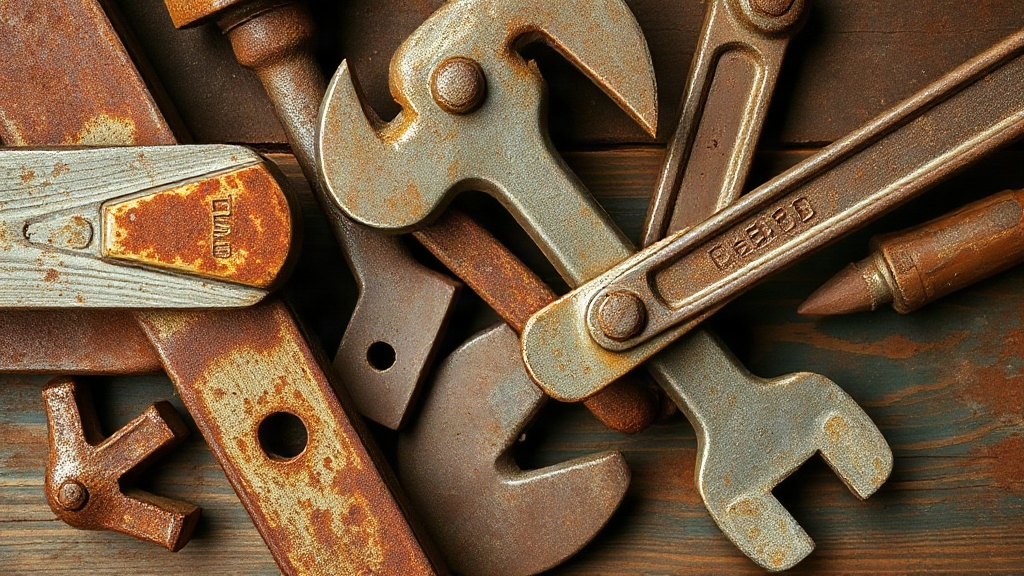
A seized bolt, a rusted plane iron, a box of inherited wrenches: rust removal methods decide whether those items go back to work or head for scrap. Most rust is only iron oxide sitting on the surface, so the metal underneath often survives. The real question is picking the right method for the object’s size, finish, and how much material you can afford to lose. This guide walks through the practical options and the mistakes that ruin good steel.
Here is a practical reference point for materials and tool care: https://bestusatools.com/.
Quick answer: Match the method to the metal, not the other way around. Mechanical removal (wire brushes, abrasive pads, grinders) suits heavy, flat parts; chemical methods like evaporust or phosphoric acid suit intricate shapes and tight threads. Start gentle, dry the metal completely afterward, and protect it with oil or a coating so rust does not return.
What is rust removal methods?
Rust removal methods are the techniques used to strip iron oxide from ferrous metal without damaging the underlying steel. They fall into three broad families: mechanical, chemical, and electrochemical. Each one trades effort against risk.
Mechanical methods scrape or abrade rust away. A wire brush, sandpaper, a grinding wheel, or a rotary tool all do the job the same basic way. They are fast and need no chemicals, but they remove a little metal along with the rust and struggle with tight inner corners or deep pitting.
Chemical methods dissolve or convert the rust. Soaking a part in a chelating solution lifts the oxide without touching the steel. Phosphoric acid does something different: it converts rust into a stable dark phosphate layer you can paint over. Both suit shapes that abrasives cannot reach.
Electrochemical methods use a mild current to drive rust off the surface. Electrolysis in a washing-soda bath is the common version, and it works well on large or awkwardly shaped pieces. It is slower and needs careful setup, but it leaves the base metal nearly untouched.
Choosing among these comes down to three questions:
- How big is the object? A hand tool fits in a jar; a bench vise does not.
- How delicate is the surface? Fine threads and machined faces punish aggressive abrasives.
- What happens next? A part headed for paint wants a different finish than one going straight back into service.
Removal takes the oxide off entirely. Conversion turns it into a paint-ready layer. A converter is convenient for large painted surfaces, but it is not the right call for moving parts that need clean metal contact.
Takeaway: Identify the metal, the shape, and the end goal first. The method follows from those answers.
Why rust removal methods matters
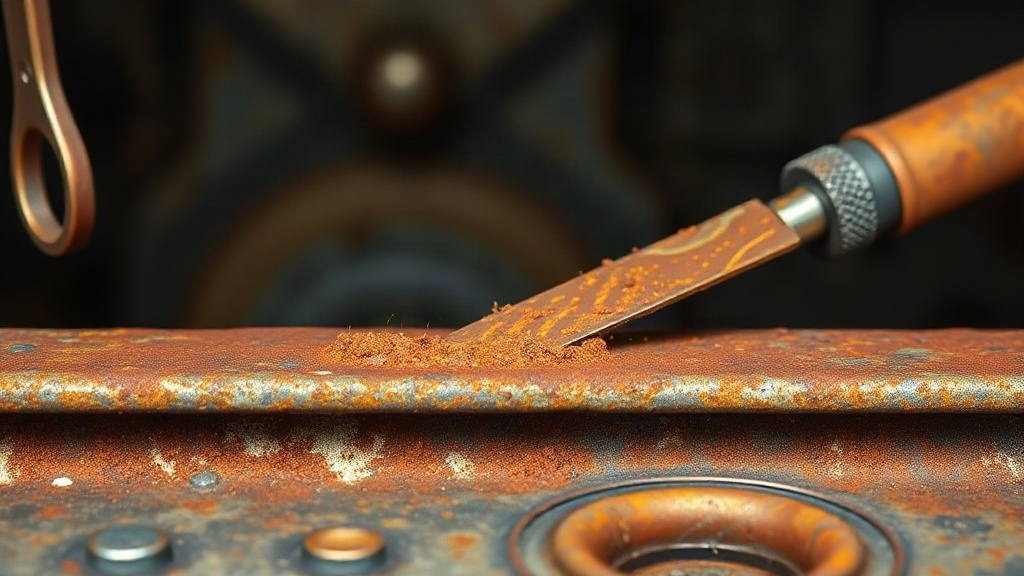
Rust does not sit politely on a surface. It expands as it forms, which is roughly why a rusted fastener jams so tightly. That expansion pries apart joints, lifts paint, and pits the metal beneath. Acting early keeps a small problem small.
Restoring instead of replacing also makes practical sense. A quality vintage hand tool often uses better steel than a cheap modern replacement. Cleaning it properly brings back decades of service. The same logic applies to hardware: hinges, latches, and brackets are frequently salvageable when the metal is sound.
Rust also spreads. A rusted item stored beside clean tools in a damp shed speeds up corrosion on its neighbors. Removing the oxide and protecting the surface stops that chain.
There is a safety angle too. Structural rust on a ladder, a jack, or a load-bearing bracket weakens the part in ways you cannot see. Clearing it lets you inspect the metal and judge whether it is still fit for purpose.
Finally, method choice affects what you keep. A grinder can strip rust in seconds and also flatten a precision edge. Baking soda blasting is gentler but makes a mess. Knowing the trade-offs protects both the tool and your time.
If the job involves powered abrasives, understanding the equipment helps. This bench grinder vs angle grinder comparison covers which tool suits which task. A bench grinder handles small parts on a fixed wheel; an angle grinder reaches large flat surfaces and awkward angles.
Any chemical or abrasive can change the finish. Try it on a concealed spot before committing the whole piece.
Takeaway: Rust removal preserves usable metal, stops corrosion from spreading, and makes hidden damage visible. The payoff is real, provided the method matches the part.
Best practices
Start with the mildest method that could work and escalate only if needed. A nylon abrasive pad and penetrating oil will shift light surface rust. Reach for the wire wheel only when that fails.
Work in a sensible order. Degrease first, because oil and grease block chemical solutions and clog abrasives. Then remove loose rust, follow with the main treatment, and neutralize or rinse as the product requires. Dry the metal immediately and thoroughly. Flash rust can appear within minutes on bare steel in humid air.
Match the abrasive to the geometry:
- Flat surfaces: sandpaper on a sanding block, or a flap disc on a grinder.
- Threads and crevices: a brass wire brush, or a soak in chelating solution.
- Large awkward pieces: electrolysis, or a phosphoric acid gel that clings to vertical surfaces.
- Delicate or precision parts: chemical soaking, since it removes no base metal.
Keep different metals separate during electrolysis and chemical soaks. Stainless steel in an acid bath can release harmful fumes, and mixing scrap metals in an electrolysis tank muddies the results.
Finish the job. Bare, freshly cleaned steel rusts fast. Apply a light oil, a wax, or a primer within hours of drying. For tools that will sit unused, a thin coat of oil on a rag is enough.
Use the right personal protection. Eye protection for anything spinning, gloves and ventilation for acids, and a respirator when blasting or creating fine dust. Disposal matters too: spent acid and contaminated solutions need proper handling, not a drain.
Wipe tools with an oiled cloth before storage, keep them dry, and add a moisture absorber to closed toolboxes. Prevention costs less effort than another removal job.
Takeaway: Gentle first, correct sequence, thorough drying, and immediate protection. Those four habits prevent most restoration failures.
Common mistakes to avoid
The most frequent error is over-abrasion. A wire wheel at high speed removes rust and also rounds edges, erases stamped markings, and polishes away the very character that makes an old tool worth keeping. Slow down and use a lighter touch on anything with fine detail.
Skipping the dry-and-protect step is another classic. People clean a prized wrench to bright steel, leave it on the bench overnight, and find a fresh orange bloom the next morning. Humidity does not wait.
Using too strong an acid is a real risk. Muriatic acid strips rust quickly but attacks base metal, damages surrounding finishes, and produces dangerous fumes. It has its place in industrial work, not on a family heirloom in a home workshop.
Mixing incompatible treatments causes trouble too. Rinsing a chelating-solution part with water and leaving it wet invites flash rust. Painting directly over a rust converter before it has cured leads to peeling.
Some people grind rust off moving parts and forget lubrication. Clean metal in a hinge or thread needs grease right away, or it seizes again.
One more mistake: treating conversion as removal. A converter leaves the oxide in place and changes its chemistry. That is fine under heavy paint, but it is not clean metal for a bearing surface or a cutting edge.
Pitting from deep rust may have thinned the metal beyond safe use. Remove the rust, then inspect. If in doubt, replace the part rather than restore it.
Takeaway: The damage usually comes from impatience, not from the method itself. Slow abrasives, dry quickly, protect immediately, and never skip inspection.
FAQ
How much does rust removal cost?
Most home methods are inexpensive. Abrasive pads, a wire brush, and a bottle of penetrating oil cost little, while chelating solutions and phosphoric acid are mid-priced. Electrolysis needs only a battery charger, washing soda, and a plastic tub. The bigger cost is usually time, not materials.
Can I remove rust without damaging the metal?
Yes, if you choose a non-abrasive method. Chelating soaks and electrolysis lift the oxide without cutting into the steel. Mechanical abrasives always remove some base metal, so keep them for heavy parts where a little loss does not matter.
How long does a chemical soak take?
It depends on the product and the depth of rust. Light surface rust often clears in a few hours; heavy, pitted corrosion can take a day or more. Check progress periodically and follow the product’s stated timing rather than guessing.
Is vinegar a good rust remover?
Vinegar works on small parts as a slow acid soak, but it also attacks the base metal if left too long. It leaves a dull surface and needs thorough rinsing and immediate oiling. It is a reasonable option for a quick job, not a precise one.
Should I remove rust before painting?
Yes. Loose rust and scale must come off before any paint will hold. Either strip to clean metal, or use a converter and let it cure fully before priming. Painting over loose rust simply traps the problem underneath.
Conclusion
The right rust removal methods come down to matching the technique to the metal: gentle soaking and electrolysis for delicate or intricate parts, abrasives for heavy flat surfaces, and converters only where paint will follow. Whatever route you take, dry the part promptly, protect it with oil or a coating, and inspect for pitting before returning it to service. Start with the least aggressive option that will work, and escalate only if it fails. Your next step is simple: pick one rusted item, choose a method suited to its shape and finish, and work through it carefully. With a little patience, that old tool or hinge can earn another few decades instead of a place in the scrap bin.