







A leaky dishwasher can turn your kitchen into a mess, but replacing the rubber gasket on your Whirlpool dishwasher can solve the problem quickly. At Home Decorations Tips, we understand how frustrating it is to deal with water pooling under your appliance. This guide will walk you through the steps to replace the rubber gasket, focusing on fixing a common issue: a Whirlpool dishwasher leaking from the bottom of the door. With simple tools and a bit of patience, you can restore your dishwasher to full function and keep your kitchen dry.
Why Your Whirlpool Dishwasher Leaks from the Bottom
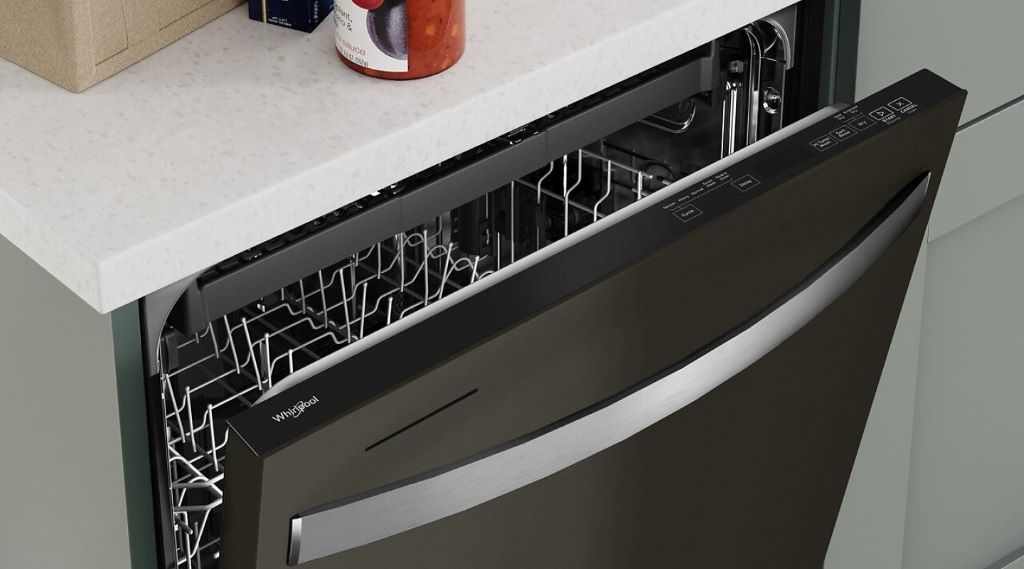
Dishwasher leaks often stem from a worn or damaged rubber gasket, also called a door seal. This component creates a watertight seal when the dishwasher door closes, preventing water from escaping during the wash cycle. Over time, the gasket can crack, warp, or collect debris, leading to leaks. If you notice water dripping from the bottom of your Whirlpool dishwasher door, the gasket is likely the culprit. For a deeper dive into diagnosing and fixing this issue, check out this detailed guide on whirlpool dishwasher leaking from bottom of door for expert tips and solutions.
Tools and Materials Needed
Before starting the repair, gather the necessary tools and materials to ensure a smooth process. Having everything on hand saves time and prevents interruptions. Here’s what you’ll need:
- Replacement rubber gasket (specific to your Whirlpool dishwasher model)
- Screwdriver (flathead or Phillips, depending on your model)
- Clean cloth or sponge
- Mild dish soap
- Small brush (like an old toothbrush)
- Work gloves (optional for better grip)
Always purchase a genuine Whirlpool gasket to ensure compatibility. Check your dishwasher’s model number, usually found on a sticker inside the door or on the side of the unit, and order the correct part from a reputable supplier like Whirlpool’s official website or an authorized retailer.
Step-by-Step Guide to Replacing the Rubber Gasket
Replacing the rubber gasket is a straightforward task that most homeowners can handle without professional help. Follow these steps to fix your Whirlpool dishwasher and stop those annoying leaks.
Step 1: Turn Off Power and Water Supply
Safety comes first. Before working on your dishwasher, unplug it from the electrical outlet or turn off the circuit breaker. Additionally, shut off the water supply to the dishwasher to avoid any accidental water flow during the repair. This step protects you and your appliance from potential hazards.
Step 2: Remove the Old Gasket
Open the dishwasher door and locate the rubber gasket along the inner edge of the door or tub. Depending on your Whirlpool model, the gasket may be held in place by friction, clips, or screws. Gently pull the old gasket out of its channel, starting at one end and working your way around. If screws or clips secure it, use a screwdriver to loosen them. Be careful not to damage the surrounding area, as the gasket track must remain intact for the new seal.
Step 3: Clean the Gasket Channel
Once the old gasket is removed, inspect the channel for debris, soap residue, or mold. Use a clean cloth or sponge with mild dish soap and warm water to wipe down the area thoroughly. A small brush can help remove stubborn buildup. Dry the channel completely to ensure the new gasket adheres properly. A clean surface is critical for a tight seal and preventing future leaks.
Step 4: Install the New Gasket
Unpack the replacement gasket and let it sit at room temperature for 10-15 minutes to make it more pliable. Starting at the top or one side (per your model’s instructions), press the new gasket into the channel, ensuring it fits snugly. Work your way around the door or tub, avoiding stretching or twisting the gasket. If your model uses clips or screws, secure them as you go. Double-check that the gasket sits evenly without gaps.
Step 5: Test the Seal
Close the dishwasher door and check for any gaps or misalignments in the gasket. Run a short rinse cycle with no dishes inside to test the seal. Watch for leaks, especially at the bottom of the door. If water still escapes, reposition the gasket or ensure it’s fully seated in the channel. A properly installed gasket should create a watertight seal, keeping your kitchen floor dry.
Tips for Maintaining Your Dishwasher Gasket
To extend the life of your new gasket and prevent future leaks, regular maintenance is key. Clean the gasket monthly with a damp cloth and mild soap to remove food particles and detergent buildup. Avoid using harsh chemicals, as they can degrade the rubber. Additionally, inspect the gasket periodically for cracks or wear, especially if your dishwasher is used frequently. Keeping the door slightly ajar when not in use can also reduce moisture buildup and prevent mold growth.
When to Call a Professional
While replacing a rubber gasket is a manageable DIY task, some situations may require expert help. If the leak persists after installing a new gasket, the issue could involve a faulty door latch, misaligned door, or internal pump failure. In such cases, contacting a certified appliance repair technician is wise. According to Consumer Reports, persistent leaks may indicate more complex issues that need professional diagnosis to avoid costly damage.
Cost of Replacing a Whirlpool Dishwasher Gasket
The cost of a replacement gasket varies by model but typically ranges from $20 to $50 for genuine Whirlpool parts. Labor costs for professional installation can add $100-$200, depending on your location and the complexity of the repair. Doing it yourself saves money and is often more affordable than replacing the entire dishwasher, which can cost $400-$1,000, per data from Bob Vila.
Common Mistakes to Avoid
When replacing the gasket, avoid these pitfalls to ensure a successful repair:
- Using a non-compatible gasket: Always verify the part matches your dishwasher model.
- Stretching the gasket: This can cause gaps and leaks.
- Skipping the cleaning step: Debris in the channel prevents a proper seal.
- Ignoring other issues: A leak may not always be gasket-related; check the door alignment or spray arms.
By avoiding these errors, you can achieve a professional-quality repair and restore your dishwasher’s performance.
Conclusion
Replacing the rubber gasket on your Whirlpool dishwasher is a simple, cost-effective way to fix a leak and keep your kitchen dry. By following the steps outlined—turning off power, removing the old gasket, cleaning the channel, installing the new gasket, and testing the seal—you can tackle this repair with confidence. Regular maintenance and careful installation will extend the life of your dishwasher and prevent future issues. If problems persist, don’t hesitate to seek professional help to protect your appliance and home.
Frequently Asked Questions
How do I know if my Whirlpool dishwasher gasket needs replacing?
If you see water leaking from the bottom of the door or notice cracks, tears, or warping in the gasket, it’s time for a replacement.
Can I use a generic gasket for my Whirlpool dishwasher?
No, always use a gasket designed for your specific Whirlpool model to ensure a proper fit and seal.
How long does it take to replace a dishwasher gasket?
The process typically takes 30-45 minutes, depending on your model and experience level.
Why does my dishwasher still leak after replacing the gasket?
A persistent leak could indicate a misaligned door, faulty latch, or internal issue. Consult a professional if the problem continues.
How often should I clean my dishwasher gasket?
Clean the gasket monthly with mild soap and water to prevent buildup and extend its lifespan.
Read More:
Transform Your Kitchen: Applying Contact Paper to Cabinets
Benefits of Installing a Water Filtration System in the Kitchen